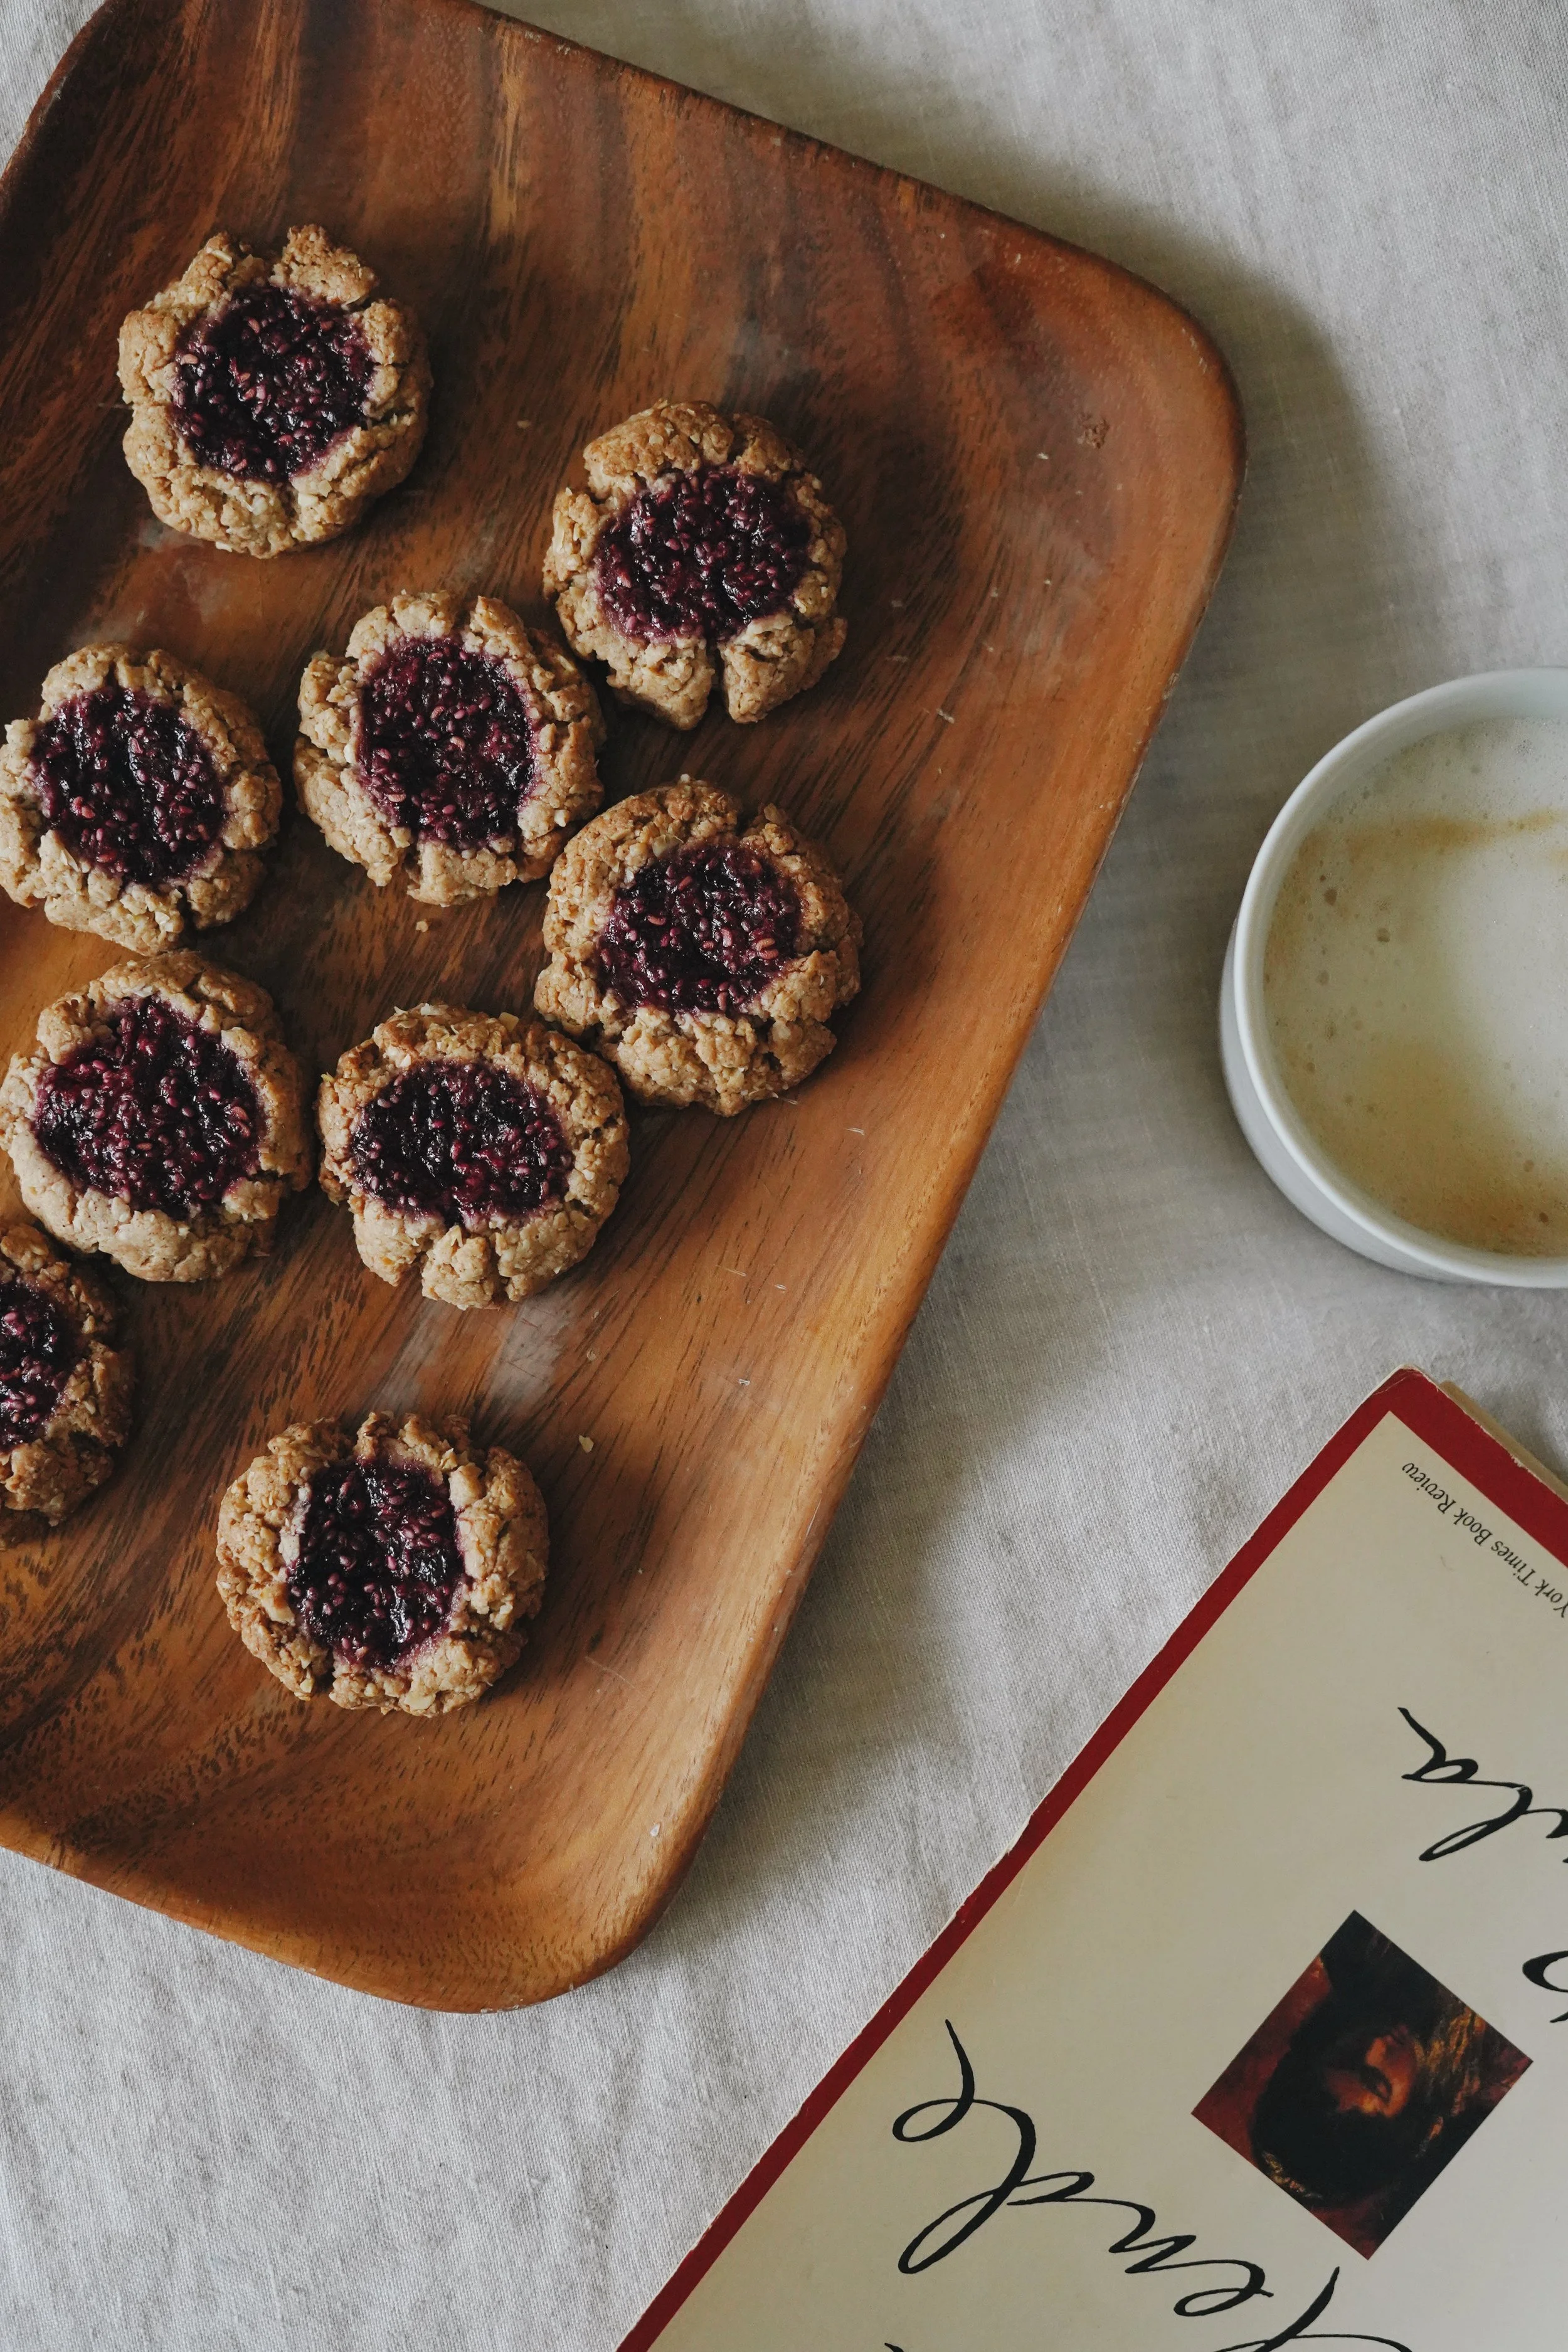
Raspberry Thumbprint Cookies
An ode to “het koffiekoekje”
This raspberry thumbprint cookie is made with oats, almonds and maple syrup for sweetness. It’s gluten-free, refined sugar-free, vegan and all that jazz. Scroll down to see the steps in picture format.
As for the poor souls who don’t know what a koffiekoekje (coffeecookie) is: it’s a cookie in snacking format. To have in one, max two bites, together with your afternoon coffee. I believe it is something typical Belgian and you will see many cafés give a free cookie with your coffee order. Yes, we are generous like that.
This recipe is: gluten-free, refined-sugar-free and plant-based.
Don’t own a food processor? You could use oat flour instead. The texture will be slightly less crumbly and a bit drier so add less. Do let me know how it turns out if you try.
This is a versatile cookie recipe because you can actually eat these cookies “raw” (unbaked). You won’t get the crispness but it will be freakin’ tasty too. You will get nice and fresh cookies which you should store in a nice and fresh fridge.
It is possible to use frozen fruit for the jam but you will need more chia seeds because these fruits tend to be more watery. Go ahead and experiment!
The chia seeds we add to the jam allow the jam to thicken, so you cannot leave these out.
Ingredients for about 12 cookies
COOKIE BASE
⅔ cup almond flour
¾ cup rolled oats (GF)
2 tbsp coconut oil
2 tbsp maple syrup
¼ tsp salt
½ tsp cinnamon
½ tsp vanilla extract
12 tsp of raspberry chia jam
JAM
¾ cup raspberries
¼ cup blueberries
½ tbsp maple syrup
1 heaping tbsp chia seeds
How to
1.
JAM FIRST: in a food processor, blend the berries with the maple syrup. Transfer to a container and add chia seeds, mixing well with a fork. Put in the fridge for at least 15 min but preferably longer or even overnight so it can thicken up (the chia seeds will do this)
2.
Preheat the oven to 180°C / 350°F. Prepare a baking sheet with parchment paper. You know the cookie drill.
3.
Make the dough: blitz all the ingredients in a food processor until incorporated and sticky.
4.
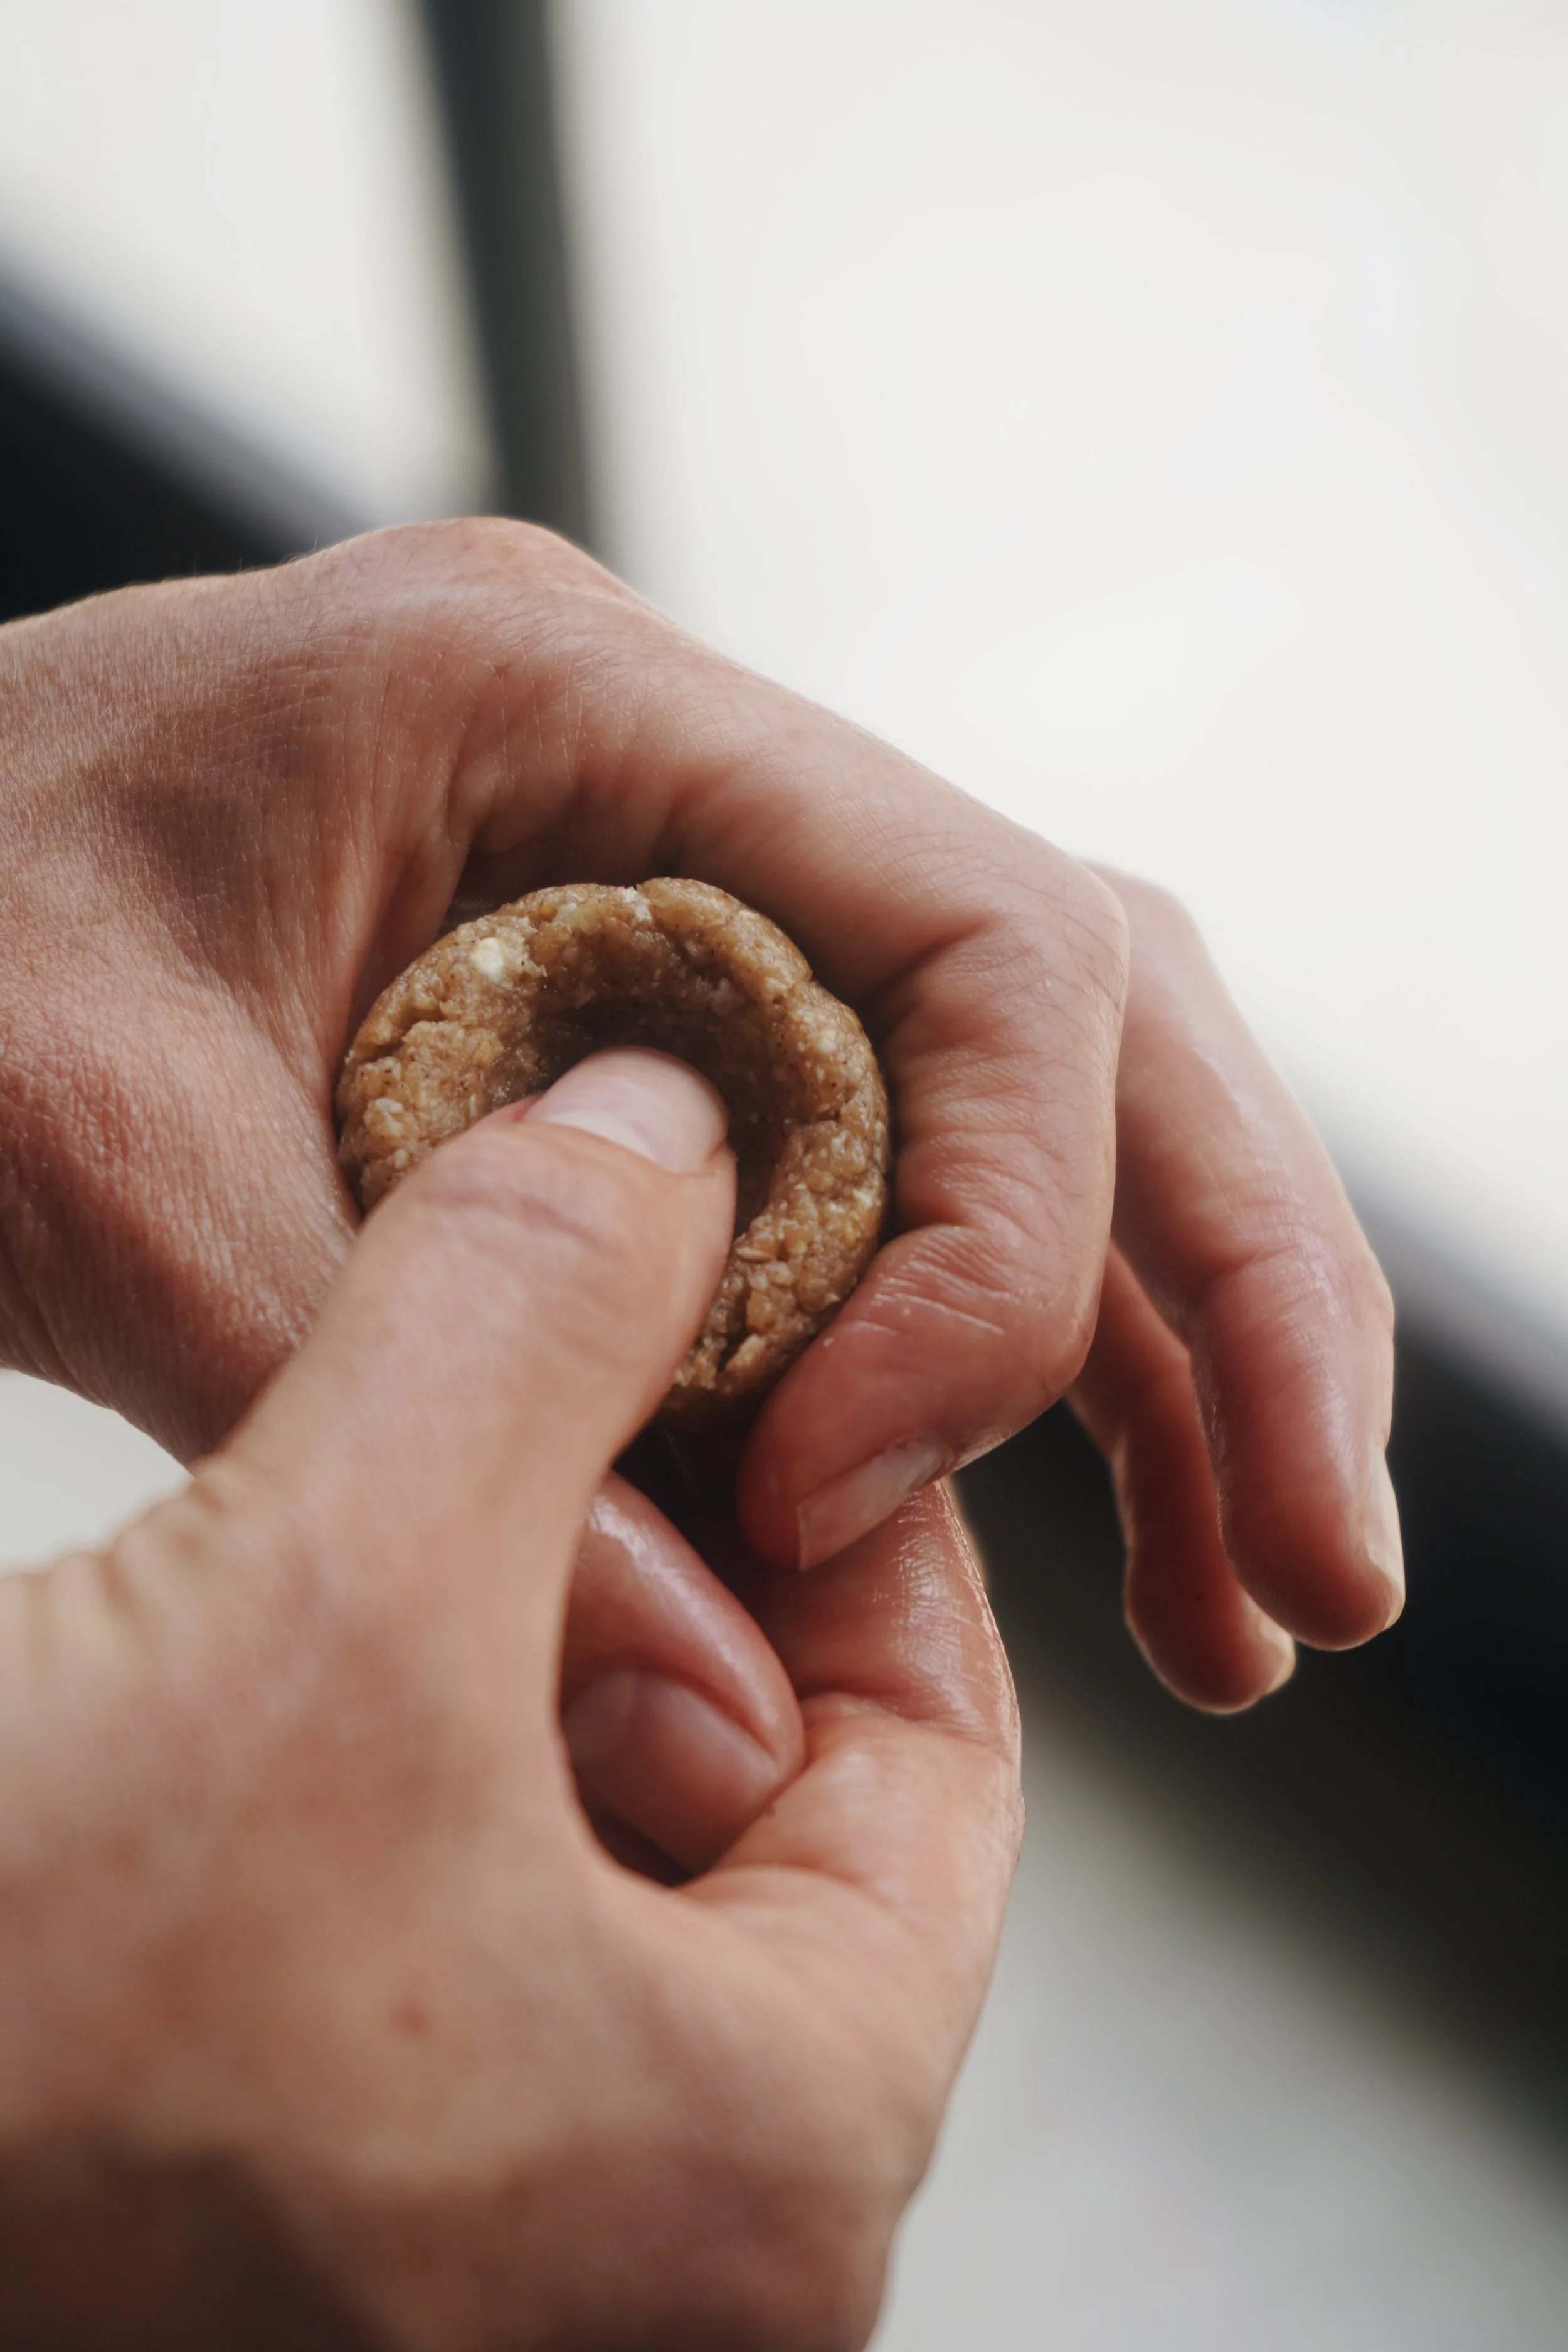
Using your hands, roll the dough into small balls, put these onto the baking sheet and press them down with your thumb, creating a dent for where the chia jam will go.
5.
Put a tsp of chia jam in the dent of each cookie. It all makes sense now.
6.
Put in the oven for 20 min, flipping the baking sheet halfway through (front to back not up to bottom, silly)
7.
Take out of the oven and let cool entirely. Reward your patience with one maybe two cookies.